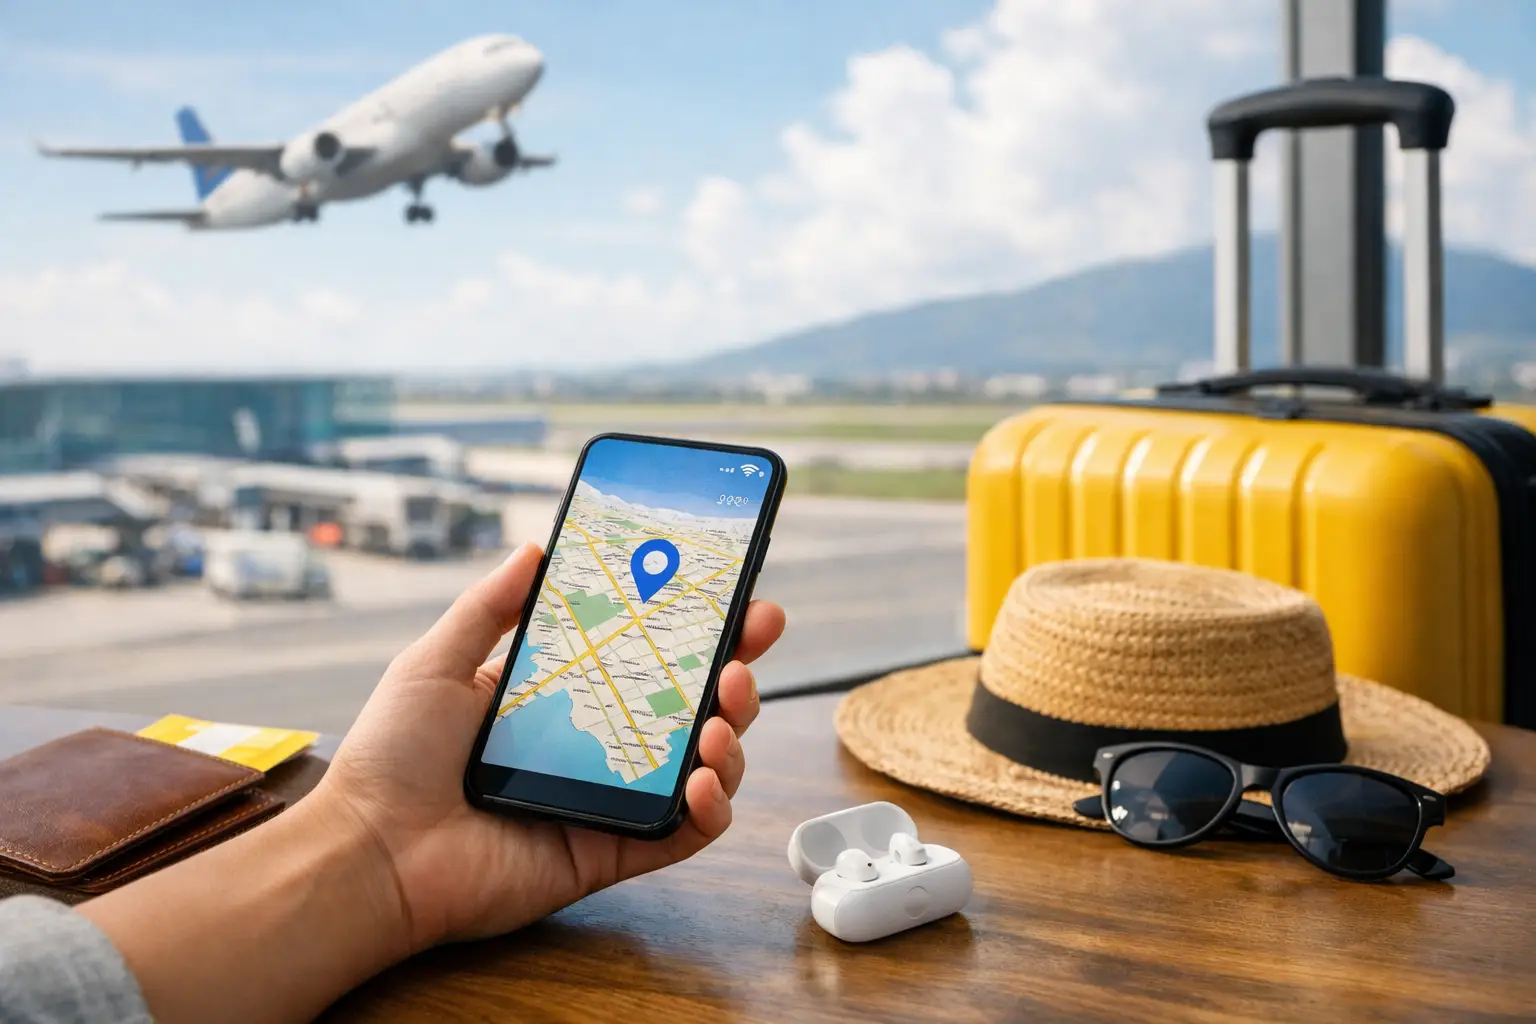
Landing with no data is one of those travel problems that gets stressful fast. You need to message your hotel, order a ride, find a gate change, or tell family you arrived - and airport Wi-Fi is slow, unavailable, or asking for a phone number you cannot use. If you are wondering when to install an eSIM, the simple answer is: install it before you leave, but activate the travel data plan when you arrive.
That one distinction matters. Installing an eSIM puts the plan on your phone. Activating it starts the plan's data service. For most travelers, handling installation while you still have reliable Wi-Fi at home is the easiest way to avoid a last-minute connectivity scramble.
When should you install an eSIM?
Install your eSIM as soon as you have booked your trip and confirmed your phone is compatible. That might be a week before departure, the night before your flight, or even at the airport gate. Earlier is better because you have time to check that the plan appears correctly in your phone settings.
You do not need to wait until you land to install it. In fact, waiting can create the exact problem eSIMs are meant to solve. Installation may require Wi-Fi, and troubleshooting a new mobile plan after a long flight is not how most people want to start a vacation or business trip.
For a standard travel eSIM, the best timing looks like this: buy and install before departure, keep your usual SIM active for calls and texts if you need it, then switch your cellular data to the travel eSIM when you arrive at your destination.
Traverrsim is built around that approach: choose your destination and trip length, purchase, and receive the eSIM automatically in seconds. On compatible Apple devices, tap-to-activate removes the need to scan a QR code. The goal is simple - get the setup out of the way before travel starts.
Install before departure, activate on arrival
These two steps are easy to mix up, especially if this is your first eSIM. Think of installation as adding a new travel card to your phone. Activation is when that card begins connecting to a local network and using its included data.
Some plans begin their validity period only when they first connect to a supported network in the destination. Others can start from the moment you install or activate the plan. That is why you should always read the plan details before setup. If a plan starts immediately upon installation, do not add it too early unless you are comfortable using part of the validity period before the trip.
For plans that activate on arrival, install them ahead of time and leave the travel line turned off until you land. Once the plane reaches the destination and you are allowed to use cellular service, turn on the eSIM line, select it for mobile data, and enable data roaming for that eSIM if the provider instructions say to do so.
Data roaming can sound expensive because of traditional carrier roaming charges. With a prepaid travel eSIM, it usually means allowing that eSIM to connect to its partner networks abroad. The key is to make sure your primary home line is not the one using mobile data.
How early is too early to install an eSIM?
For many travelers, installing one to three days before departure is a comfortable sweet spot. You have enough time to confirm everything is ready without forgetting about it weeks later.
Installing a week or two ahead can also work well if your eSIM plan starts only when it connects in the destination. This is useful for families, busy business travelers, or anyone organizing several flights and hotels at once. Set it up while you are calm, connected to home Wi-Fi, and able to follow the instructions without rushing.
The only reason not to install early is plan validity. A few providers count days from installation or a manual activation step rather than the first network connection. If your 10-day plan starts on the day you add it, installing it 10 days before a 10-day trip could leave you with no data near the end. Check that detail first.
If you bought an eSIM late at night before an early flight, install it then. A five-minute setup before bed is still far better than searching for a local SIM store after arrival. Keep your confirmation details saved offline or take a screenshot in case you need them later.
What to check before you travel
An eSIM is quick to set up, but a few checks prevent most connection issues. First, make sure your phone supports eSIM and is carrier-unlocked. A locked phone may accept the installation but fail to connect to a different provider's network.
Next, connect to stable Wi-Fi before beginning. Keep your phone charged, update it if a major system update is pending, and avoid deleting the eSIM once it is installed. Some eSIMs cannot be installed again after removal, or they may require support to reissue the plan.
You should also label the new line clearly in your phone settings. Names like “Japan Data,” “Europe Trip,” or “China Travel” make it much easier to choose the right line when you land. If your phone asks which line should handle cellular data, keep your home line selected until arrival unless the provider says otherwise.
Finally, turn off cellular data switching on your primary line if your phone offers that setting. This helps stop your device from quietly falling back to your home carrier when the travel eSIM signal is weak. It is a small setting with a big impact on avoiding surprise roaming charges.
When to install an eSIM for a multi-country trip
A multi-country itinerary changes the timing slightly, not the basic rule. Install before departure, then confirm the plan covers every country you plan to visit. A regional plan is often easier than buying separate plans for each stop, especially if you are moving between countries by train, road, or short flights.
If you are visiting Europe, for example, your eSIM may connect automatically as you cross into another covered country. You may briefly lose service while the phone finds a new partner network, but you should not need to reinstall anything.
For a trip with separate destination plans, install each eSIM before you leave and label them carefully. Keep only the current destination eSIM turned on for data. This avoids confusion when your phone shows several travel lines in its cellular settings.
China travel needs one extra check
Installing before departure is especially useful for China travel. You do not want to land and discover that the apps you rely on for communication, maps, and social updates are restricted on local networks.
A travel eSIM can make this easier when VPN access is included as part of the service. With Traverrsim, China plans automatically layer VPN access over the eSIM connection so apps such as WhatsApp and Instagram can work without a separate setup task. Still, test that the eSIM is installed before boarding and download any essential maps, booking confirmations, and addresses for offline access.
What to do when you land
After landing, turn off airplane mode and wait a minute or two. Open your phone's cellular settings, enable the travel eSIM, and set it as the mobile data line. If required by your plan, enable data roaming on that travel line only.
Do not panic if data does not appear the second your wheels touch down. Your phone may need a few minutes to register on a local network, particularly after a long flight or in a crowded airport. Restarting the phone can help. So can turning the eSIM line off and back on, then checking that the correct line is selected for cellular data.
If you still have no connection, check whether the eSIM is enabled, whether your device is unlocked, and whether you are actually inside a covered country. Avoid deleting the eSIM as a first fix. Most issues come down to a setting, not a bad plan.
A travel eSIM works best when it becomes part of your pre-flight routine, right alongside downloading boarding passes and checking your passport. Install before departure, save yourself the airport SIM hunt, and let your first message after landing be “I’m here.”