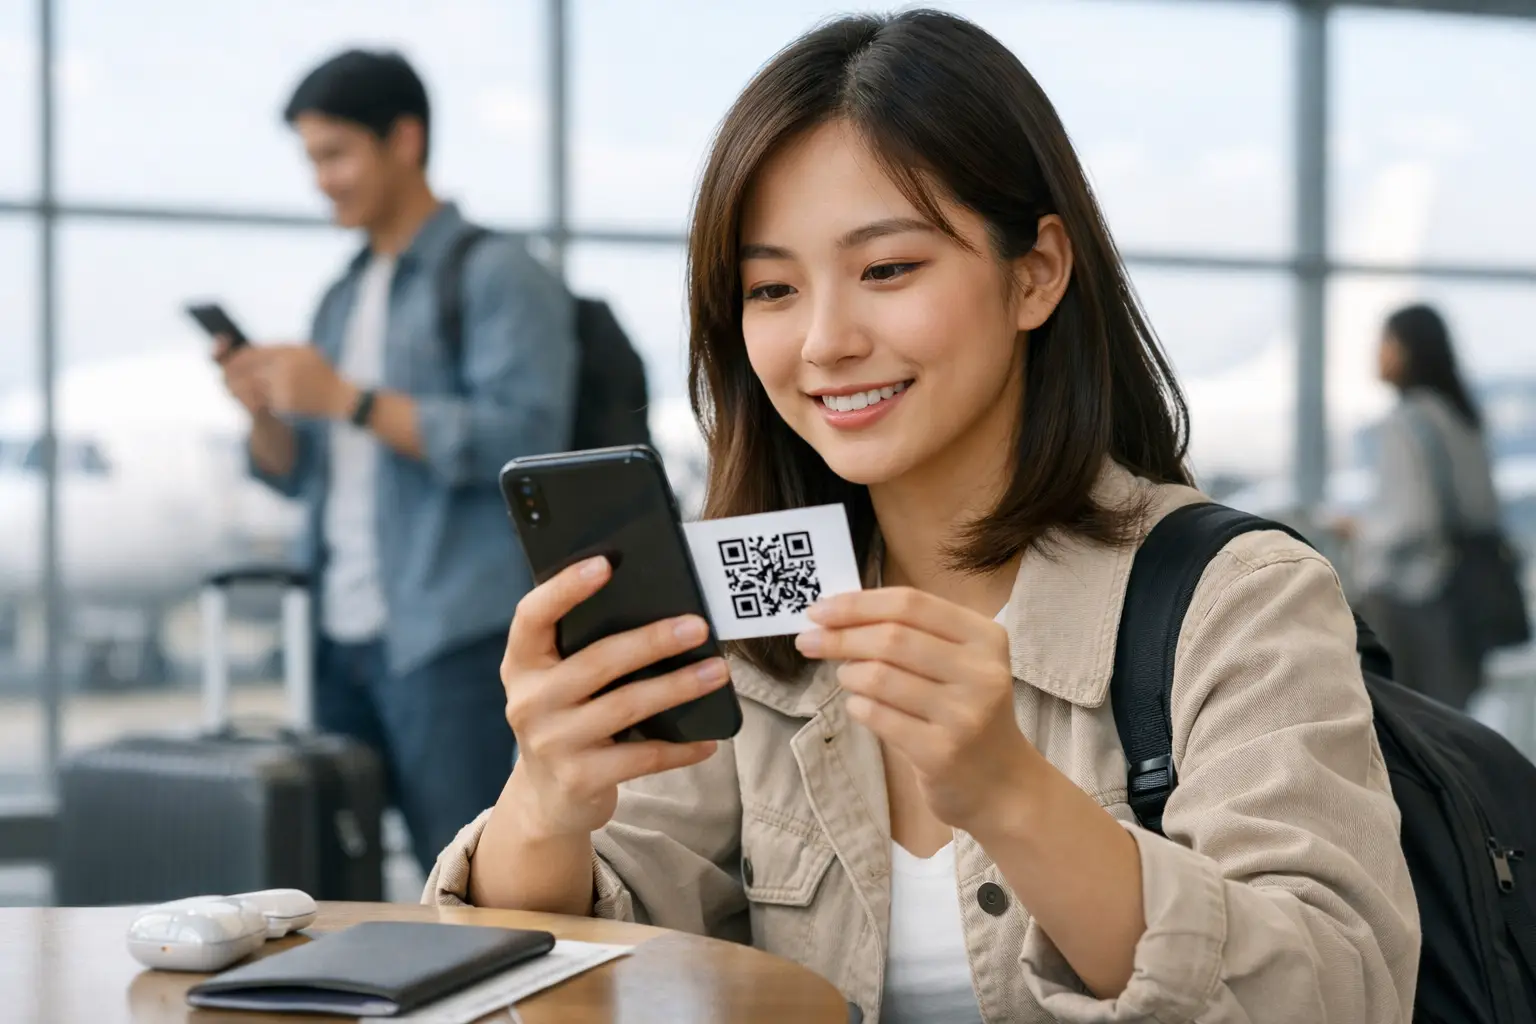
You are at the airport the night before a flight, your roaming package is expensive, and the local SIM counter will be closed when you land. An instant eSIM QR code sounds like the simple answer: buy a plan, scan a square, get data. Usually, it is. But knowing what happens between payment and connection helps you avoid the two things travelers hate most: waiting for a delivery email and arriving with an eSIM that has not been installed.
This is the practical version. What an instant QR code actually does, when you should install it, and why newer activation methods can make the process even quicker.
What an instant eSIM QR code is
An eSIM is a digital SIM profile that is added directly to a compatible phone. Instead of receiving a plastic card, you receive installation details digitally. The QR code contains the information your phone needs to download that profile from the carrier's system.
With an instant eSIM QR code, those details are issued automatically after a successful payment. There should be no manual approval, no business-hours delay, and no need for someone to send it one by one. Depending on the provider, the code may appear on the confirmation screen, arrive by email, or show inside an account or app within seconds.
The QR code is not your data plan itself. Think of it as the key that lets your phone collect the plan. Once it is scanned, your phone downloads the eSIM profile, which you can label something useful such as “Japan Data” or “Europe Trip.”
That distinction matters because delivery and activation are different things. You can receive the QR code instantly but choose to activate the plan later, subject to the plan's terms. Some plans start when the eSIM connects to a supported network, while others begin when the profile is installed. Always check this before installing days too early.
How the installation process usually works
The best time to install an eSIM is before departure, while you have reliable Wi-Fi and time to fix a setting if needed. You do not need to wait until you reach your destination just because you are buying travel data.
On most phones, the flow is straightforward. After purchase, open the installation instructions on a second device or print the QR code. On your phone, go to cellular or mobile network settings, choose to add an eSIM, then scan the code. Your phone will download the new plan and ask how you want to use it.
Keep your regular line selected for calls and texts unless you have a reason to change it. Set the travel eSIM as the line for cellular data when you arrive. If your provider instructs you to turn on data roaming for the travel eSIM, do that only for the travel line, not for your home line. This avoids accidental roaming charges from your usual carrier.
Do not delete the eSIM just because it does not show signal at home. A destination-specific plan often cannot connect until you are in the country or region it covers. Leave it installed, keep it turned off if you prefer, and switch it on when you land.
A QR code is not always the fastest route
QR codes are familiar, but they are not the only way to install an eSIM. Newer iPhones can support tap-to-activate setup, where the eSIM is offered directly through the device flow after purchase. There is no code to scan and no need to use another screen to display it.
That is useful for last-minute travelers. If you are buying a plan from your phone in a rideshare, at the gate, or while packing at midnight, opening a QR code on the same phone creates an unnecessary extra step. A direct activation prompt is simply easier.
Traverrsim uses this approach where supported: select your destination and trip length, pay, then follow the activation prompt. The aim is the same as an instant QR code - getting you online quickly - with one less thing to handle.
Android setup varies more by device and operating system. Many Android phones use QR-code installation, and some also accept a manual activation code. Neither option is a problem, but it is worth checking your phone's eSIM compatibility before you buy, especially if your device is older, carrier-locked, or purchased in a region with different hardware versions.
Why an instant QR code sometimes does not work
Most installation issues are small, and they are easier to solve before your flight. If your phone rejects the QR code, do not keep scanning it repeatedly. Start with the basics.
First, confirm that your phone is unlocked and supports eSIM. A phone tied to a carrier may block an eSIM from another provider. Next, make sure you have a stable Wi-Fi connection. Downloading an eSIM profile needs internet access, even though the plan will later provide mobile data.
Also check whether the code has already been used. Many eSIM QR codes are single-use. If the profile downloaded successfully but you exited the setup screen, look in your cellular settings before trying again. The eSIM may already be there under a generic name.
If you are scanning from the same phone, use the manual installation option if your provider supplied one, or open the QR code on a laptop, tablet, or another phone. A screenshot can work in some cases, but it can also be blurry or cropped. The original code is safer.
Finally, remember that a successfully installed eSIM may still need a few settings adjusted after arrival. Turn on the travel line, select it for mobile data, enable data roaming if instructed, and temporarily turn off cellular data switching. That last setting helps prevent your phone from quietly falling back to your home line when the travel signal is still connecting.
Install before departure, but watch the plan clock
“Install before departure” is usually the low-stress choice. You have Wi-Fi, your receipt is easy to find, and support is easier to contact from home. It also means you can land, disable airplane mode, and let the phone connect instead of hunting for airport Wi-Fi.
Still, timing depends on the plan. A 30-day plan that starts upon installation should not be added two weeks before a three-day trip. In that case, buy it early if you want, but install it close to departure. A plan that starts on first network connection is more flexible and can often be installed well in advance.
If you are visiting multiple countries, check the coverage list before you install. A regional eSIM may connect automatically across several destinations, but a single-country plan will not. Buying the right coverage upfront is faster than trying to replace a plan in transit.
What to do when you land
Once the wheels are down, turn off airplane mode and give the travel eSIM a minute or two to register on the local network. Phones sometimes need a restart after installation, especially if you added the eSIM shortly before boarding.
If data does not work, check the travel line is on and selected for cellular data. Then confirm data roaming is enabled if the instructions require it. Avoid changing APN settings unless your provider specifically tells you to. Most modern travel eSIMs configure automatically, and random changes can create a new issue.
For China and other restrictive destinations, connectivity is about more than signal bars. If you rely on WhatsApp, Instagram, Google services, or work tools, make sure your travel setup includes the access you need before you arrive. Solving that at home is much easier than troubleshooting it after landing.
The best travel eSIM is the one you do not have to think about after setup. Buy while you still have Wi-Fi, install while you have time, and keep a screenshot of your confirmation details in case you need them. Then when your plane lands, your first task can be finding your hotel, not finding a SIM card.